What is a DAO, or a decentralized organization?

A Distributed Autonomous Organization (DAO) is a combination of software and social connections. It’s able to act as a decentralized company for the benefits of its members – but no member has a controlling stake in it. My analysis of this phenomenon will be split into two parts. In the first part, we’ll focus on […]
Blockchain immutability: Behind smart contracts

The Ethereum smart contract has taken the world by storm, with its wide adoption for ICOs. Smart contracts are, in essence, computer programs executed in a sandboxed environment, so one that restricts them. That restriction provides special functions and properties: the famous blockchain immutability is one of them. Let’s dive into those. Blockchain immutability As […]
Mobile App Cost Estimation: What you need to know before you start talking with your development partner

Developing an app can be a big investment, and the development process itself is usually very complex. This is why it’s important to be well prepared when you commission an app, so that you are able to get the best results, both in terms of price and quality. In this article, we’re going to take […]
Ethereum gas: how to pay it on behalf of your users
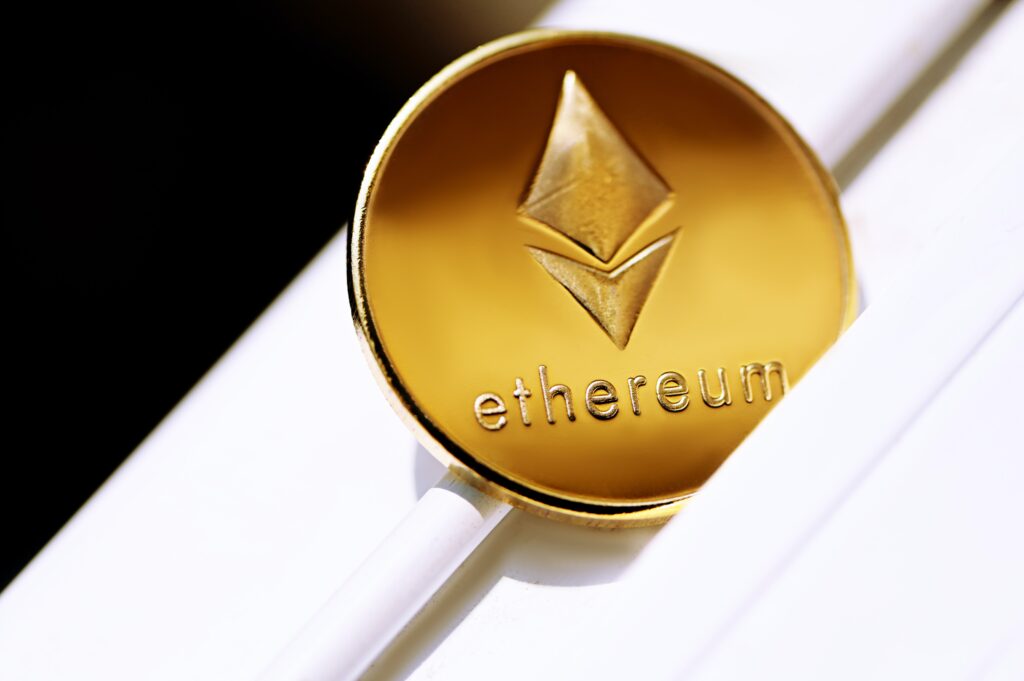
On Ethereum, every transaction that changes the state of a smart contract costs a small fee: this is called gas. Most commonly, end users pay gas while interacting with a smart contract. However, when you’re making a profit on your product by charging some transaction fee or just want to gain many users quickly, you […]
