Blockchain in Saudi Arabia Report 2025
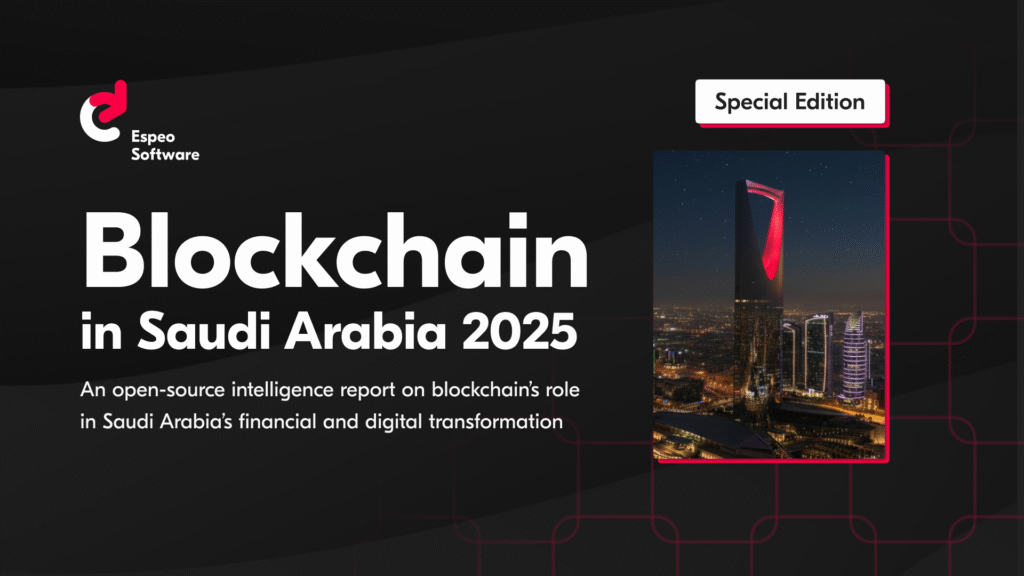
Understand blockchain’s role in Saudi Arabia’s digital transformation.
Identify adoption levels, challenges, and the opportunities shaping Vision 2030.
Espeo Software leads launch of LF Decentralized Trust European Chapter
Espeo Software is proud to announce its support for and membership in the newly launched LF Decentralized Trust (LFDT) European Chapter. The chapter brings together a diverse group of members beside Espeo Software. These include the Budapest University of Technology and Economics; HOWEST University of Applied Sciences; Vesto Prime; KFS; Identis; DSR Corporation; the Alastria […]
The State of DLT Report 2025
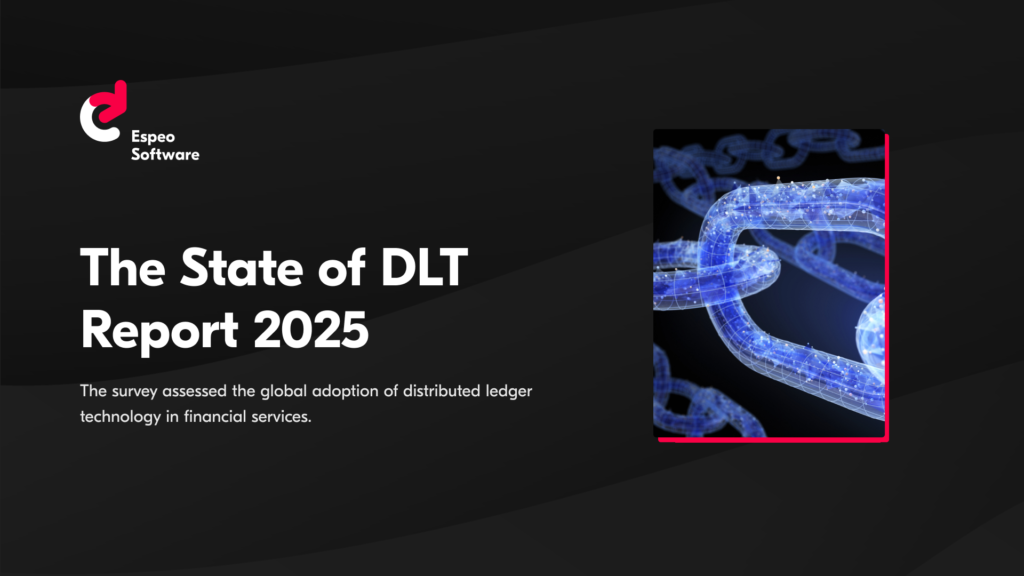
Distributed ledger technology (DLT) is becoming a strategic asset in financial services. Over half of surveyed professionals now recognise its value in areas such as tokenisation, smart contracts, and regulatory compliance. Organisations with practical DLT experience express greater confidence and note measurable benefits. Use these insights to guide your approach to DLT and drive operational excellence.
What is the LF Decentralized Trust?

Monday, 17.09, marks an exciting milestone for decentralized technologies with the official launch of the LF Decentralized Trust by the Linux Foundation. This new initiative is kicking off with over 100 founding members and promises to drive innovation in blockchain, decentralized identities, smart contracts, and more. But what exactly is this trust, and why is […]
