Espeo Software wins Fintech for Good prize at the 11:FS Awards
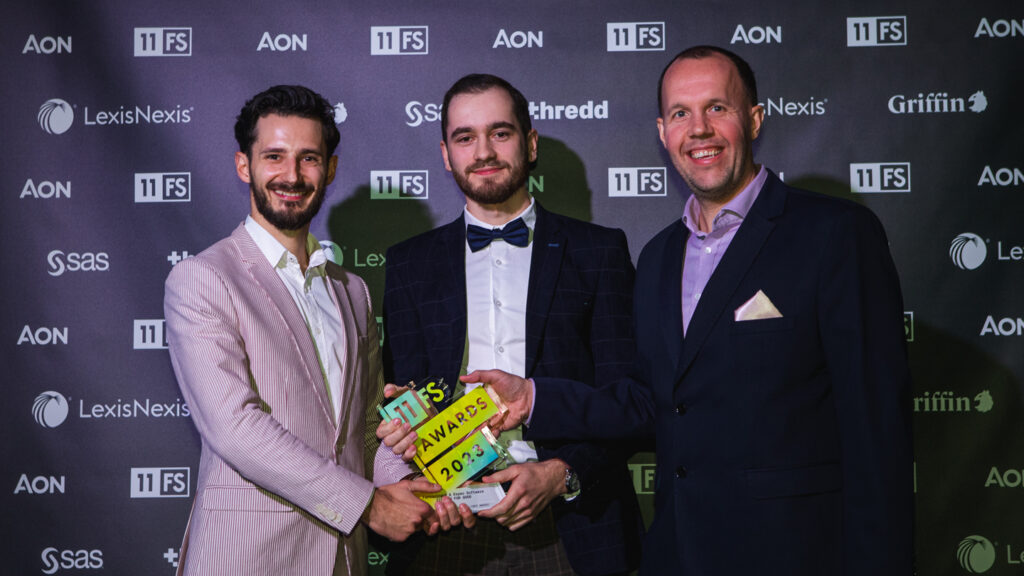
We are thrilled to announce that Espeo Software’s project for the Ministry of Economy of Ukraine – FactoringUA, has been honoured with the 11:FS Award in the Fintech for Good category. FactoringUA has facilitated access to over €100 million in international factoring without recourse. It tackles the financing gap that 80% of Ukrainian exporters now […]
SwiftUI vs UIKit – why is declarative programming the future?
Deep dive into the evolution of iOS development. Understand SwiftUI vs UIKit differences, and the benefits of declarative programming.
How to leverage distributed ledger technology in corporate platforms

In the modern-day digital landscape, consortia and corporate platforms face numerous challenges. These include managing complexity, enhancing collaboration, and improving transparency. This article focuses on addressing them using distributed ledger technology (DLT). Power relations, coopetition within consortia, data security, and privacy in decentralized architectures will be the topic of examination. How to leverage distributed ledger […]
Darmstadt Business School Interviews Espeo DLT Expert

Consortia and corporate platforms face numerous challenges, including managing complexity, enhancing collaboration, and improving transparency. Espeo Software is pleased to announce that its Solutions Consultant, Agnieszka Hołownia-Niedzielska, to contribute her expertise in a research project on Coopetition in Corporate Platforms. The Darmstadt Business School, under the leadership of Prof. Dr. Ulrich Klüh, conducts the study […]
