What is the LF Decentralized Trust?

Monday, 17.09, marks an exciting milestone for decentralized technologies with the official launch of the LF Decentralized Trust by the Linux Foundation. This new initiative is kicking off with over 100 founding members and promises to drive innovation in blockchain, decentralized identities, smart contracts, and more. But what exactly is this trust, and why is […]
Read this to avoid a no-code headache
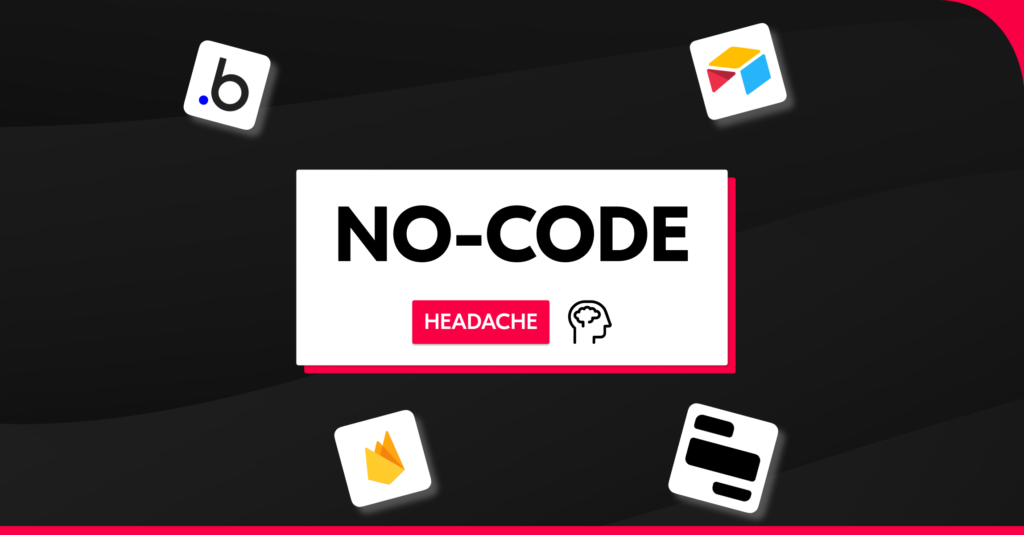
Introduction In recent conversations, if you somehow manage to escape the buzz around AI, you might bump into no-code and low-code platforms. Some developers, especially juniors, can’t help but feel a pang of FOMO, wondering if they might be left behind in this rapid shift. Are low-code tools easy to use? Can you finally build […]
Espeo Software wins Fintech for Good prize at the 11:FS Awards
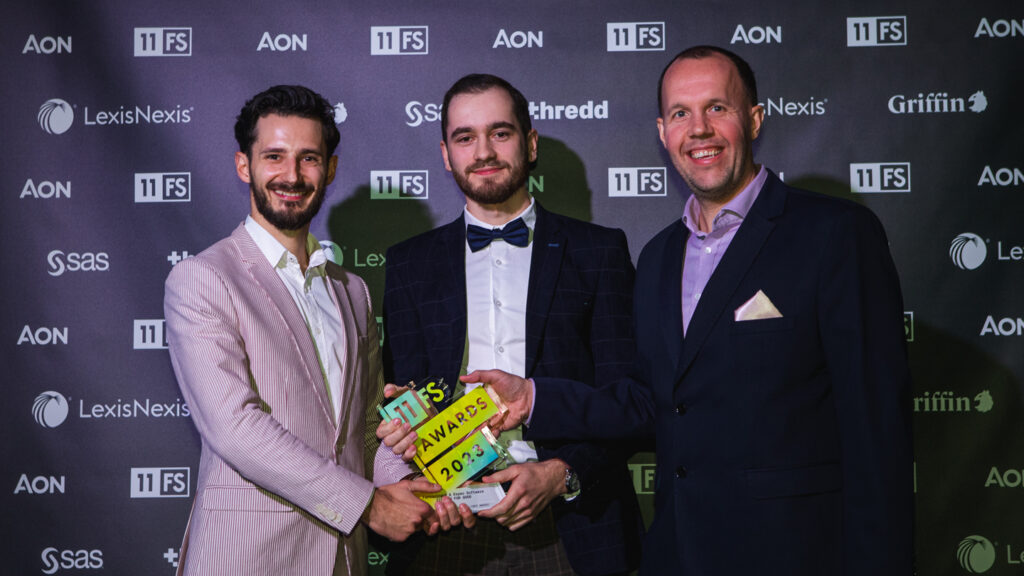
We are thrilled to announce that Espeo Software’s project for the Ministry of Economy of Ukraine – FactoringUA, has been honoured with the 11:FS Award in the Fintech for Good category. FactoringUA has facilitated access to over €100 million in international factoring without recourse. It tackles the financing gap that 80% of Ukrainian exporters now […]
SwiftUI vs UIKit – why is declarative programming the future?
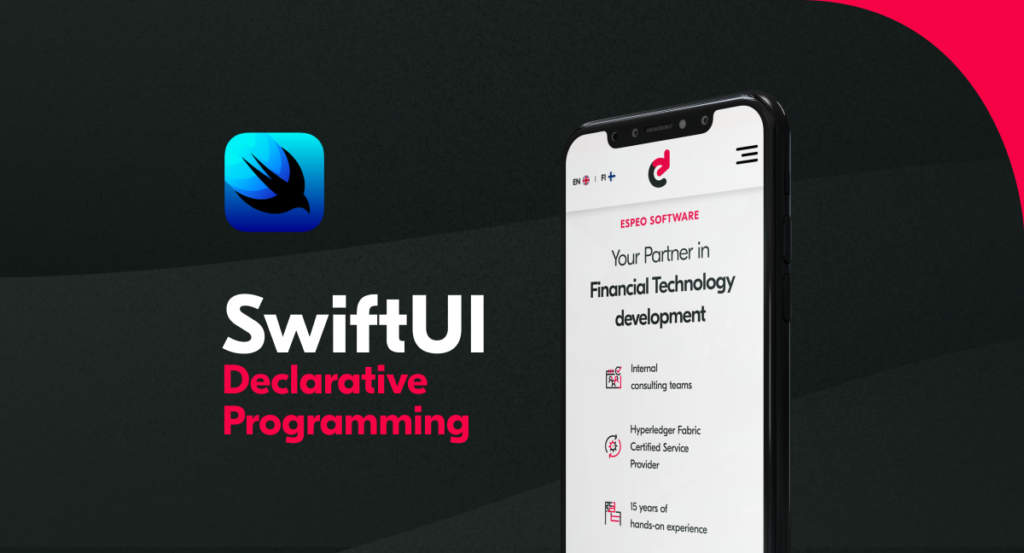
Deep dive into the evolution of iOS development. Understand SwiftUI vs UIKit differences, and the benefits of declarative programming.
